How to Use Our Online Lesson Space
/The Best Way to Teach Online.

How to Use Our Online Lesson Space
This guide is mandatory for tutors to follow when conducting online tutoring with students with the Tutor Lim community.
Read more on: How to Use Lessonspace


STEP 1 - SCHEDULING A LESSON
Login using your Teachworks credentials.
Upon Login you will land on your main dashboard.
Select CALENDAR tab > Click on CALENDAR.
To schedule a Lesson, simply click on the (blank) date space on the Calendar.
A prompt “Would you like to add a lesson?” will appear > Click OK

LOGIN > CALENDAR > CALENDAR
STEP 2 - INSERT DETAIL TO YOUR LESSON
Insert details to your lesson, and this including:
Select STUDENTS
SERVICE TYPE: 1 TUTORING HOUR, 2 TUTORING HOUR and so on.
LOCATION select Online Lesson Space
Nominate Lesson Start / Ends
Make sure to Check Conflict
Check on Repeat (optional)
Add Description (optional)
and then Submit

LOGIN > CALENDAR > CALENDAR > INSERT DETAILS TO YOUR NEW EVENT
STEP 3 - WHERE TO FIND THE LESSONSPACE BUTTON IN TEACHWORKS
For Tutors, you can either access via Calendar or Dashboard.
Calendar:
Click on the relevant lesson in the calendar
Click the “View” link
Click the blue “Launch Online Lesson Space” button
Dashboard:
Click on the lesson title and then on the blue “Launch Online Lesson Space” button.
For Students, you can find the button by going to the main calendar, clicking on the lesson and then clicking the “View” link. The button is also included on their Lesson History page when clicking on the name of the lesson as well as on their profile under the “Upcoming Lessons” section.

LOGIN > CALENDAR > CALENDAR > SCHEDULE A LESSON
STEP 4a - SEE LESSONSPACE IN ACTION
A new window will prompt and you are Ready to go!
Couple other things:
First time using Lessonspace? You can start playing with the demo version here prior to your class: www.thelessonspace.com/demo
Check out all Lessonspace features here: https://www.thelessonspace.com/features
The tool allows users to record the session too, so you can review after the session.
The tool is equipped with learning toolkits incl. shared whiteboards, documents , and code editors.
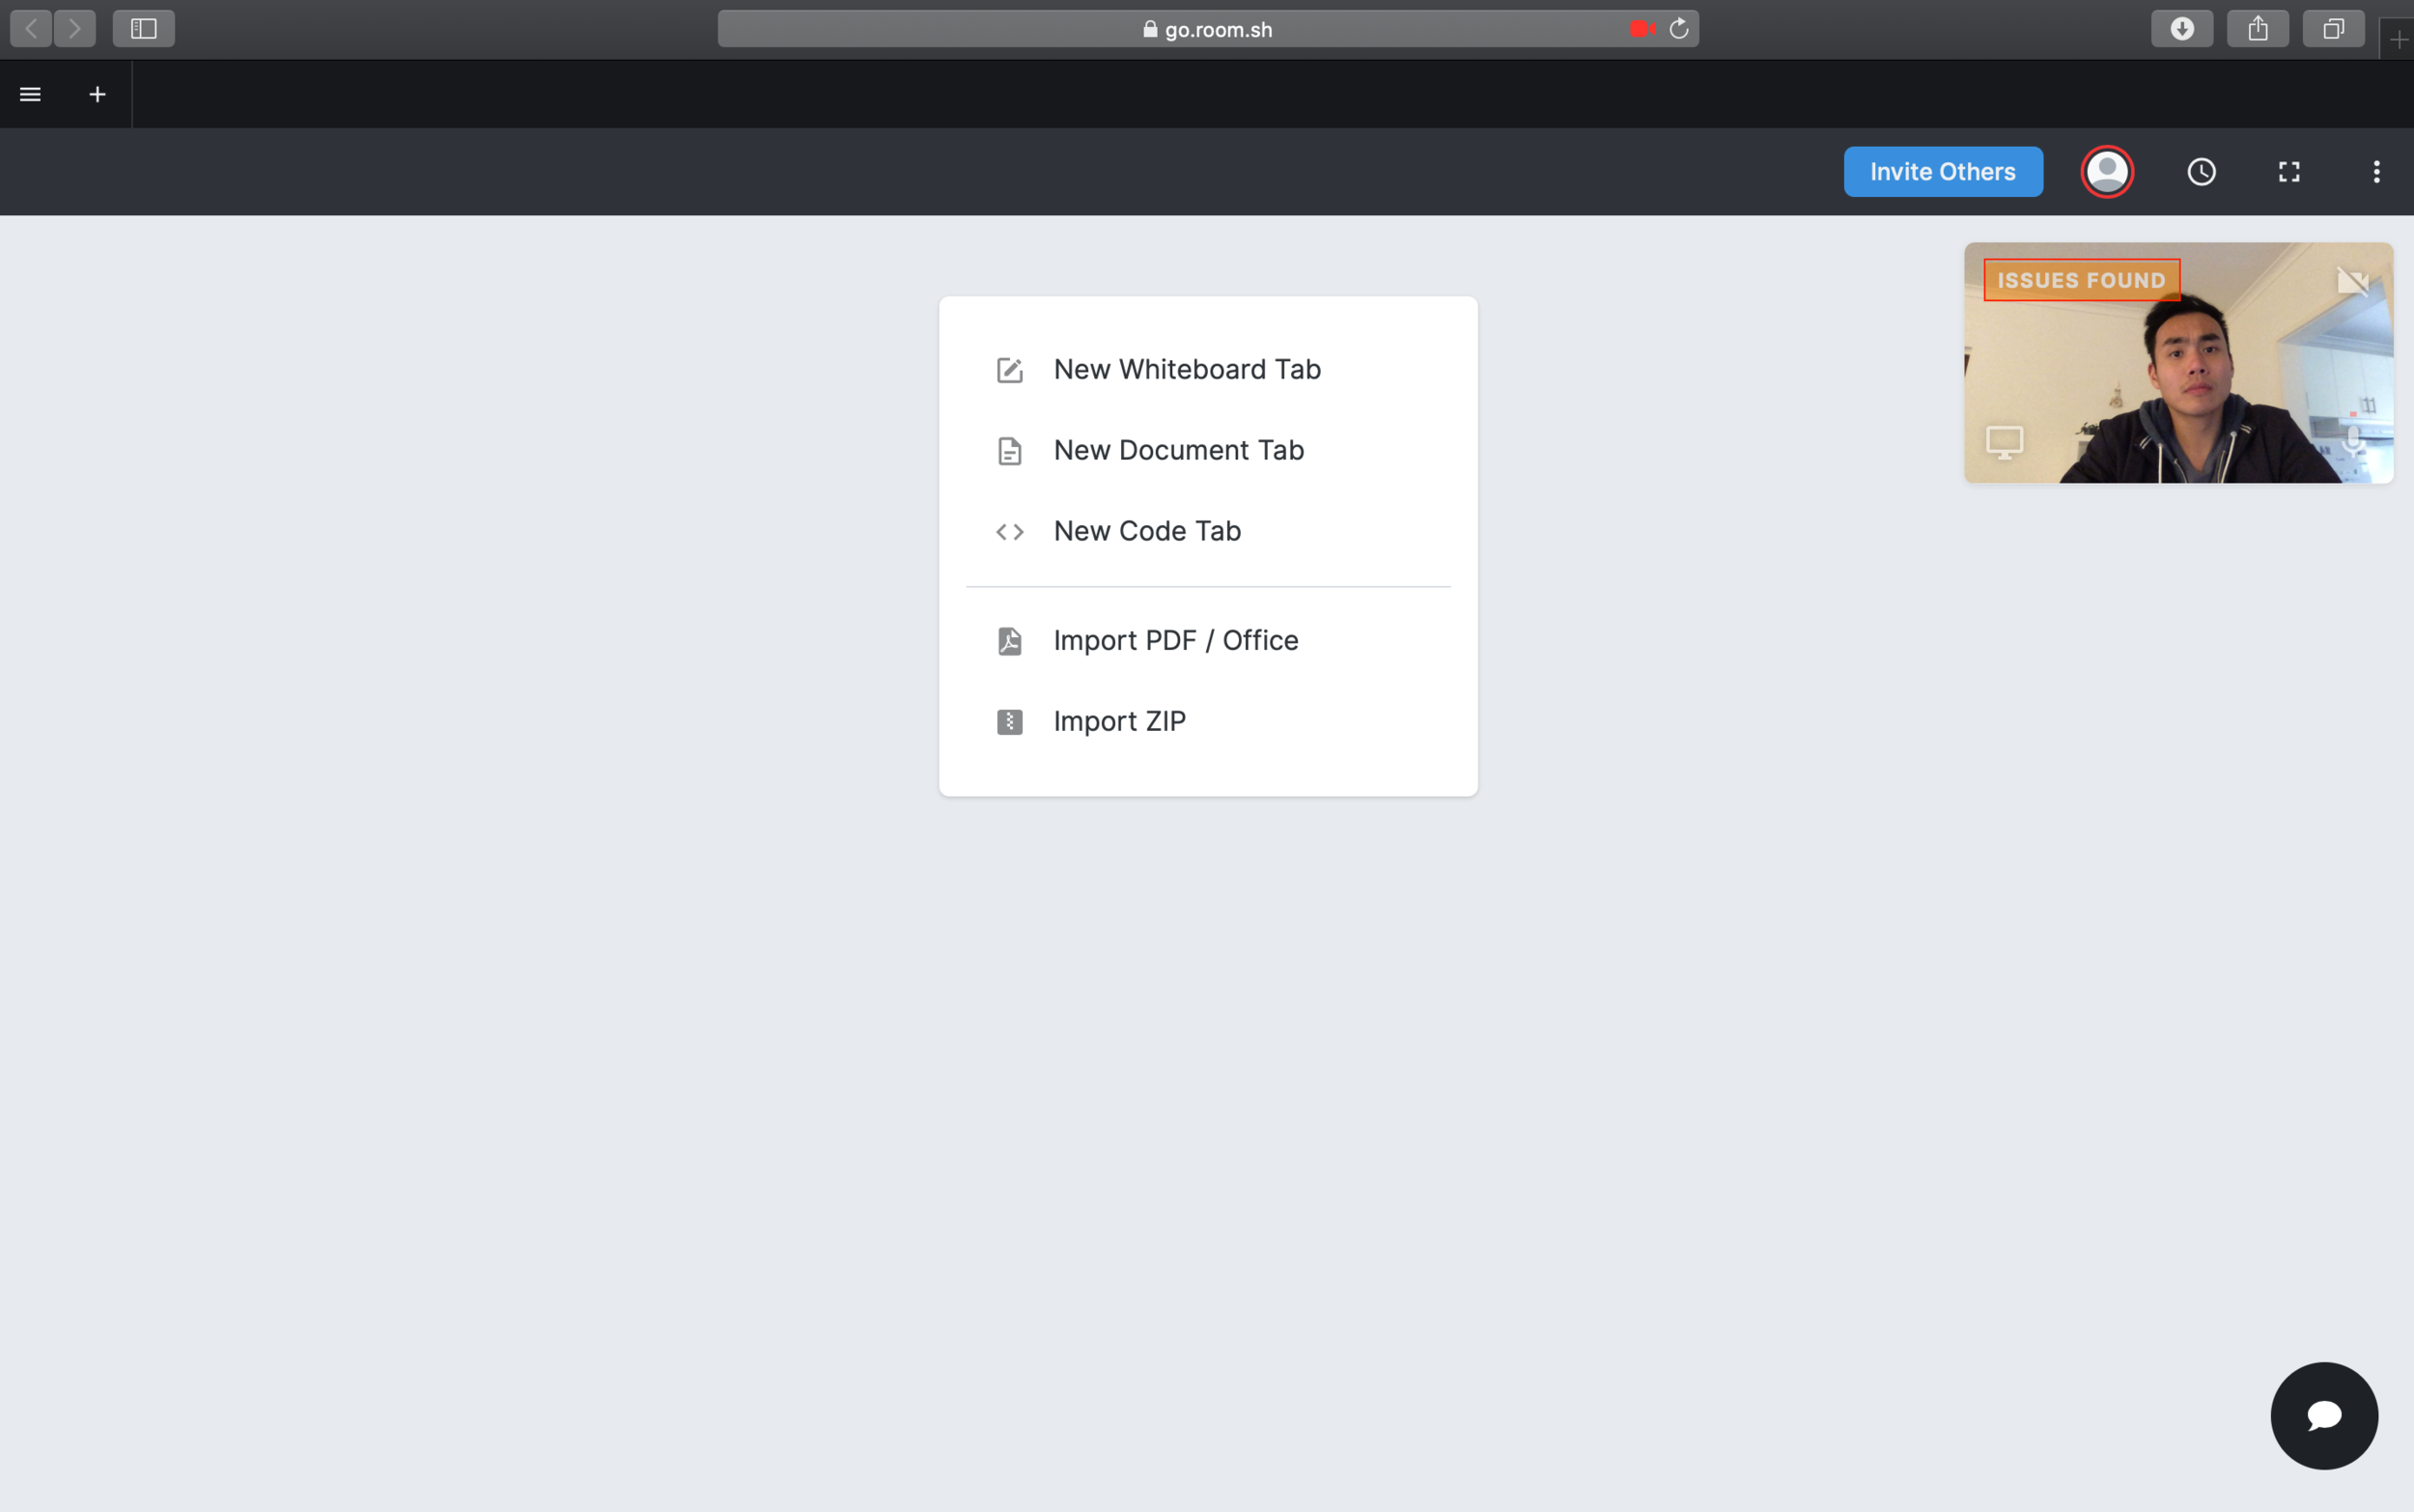
STEP 4b - TROUBLESHOOTING LESSONSPACE
If you have any network/ hardware problems for your online setup, you can use Lessonspace to help find out issues via it's Advanced Troubleshooting Dialog.
Import and annotate documents e.g. import a PDF or MS Office documents. This is perfect for students/ tutors to be taking notes on lecture slides, tutorials or exam papers.
"One Click to Connect" on any platform. Lessonspace will run on any modern device with a web browser and students can join simply by clicking a link. No installs or setup necessary.
Lessonspace is mobile and tablet friendly, at this stage, these devices do not support screen-sharing due to limitations of the firmware on said devices.

Frequently Asked Questions
Do I get paid for my trial lesson?
Yes, as long as you passed your trial session, the hours conducted will be included in your first payroll.
When do I get paid after first trial lesson?
Once a tutor completes his/her first trial lesson. Feedback will be retrieved from his/her student. As soon as the feedback is assessed and approved by staff member. Full tutor onboarding will be conducted and tutor will get a Teachworks account with first hour recorded within the system.
What is a student brief?
A Student Brief is a form of communication to share student background, university and specific challenges faced/highlighted by our students.
What is an intro email?
An Intro Email is an exchange of student contact details; a template for an introduction by the tutor (to student/s), as well as to place for scheduling details.
How long do I have once I received a student brief (or a new job)?
It’s first come, first serve! Student briefs are usually sent to multiple tutors who are aligned to task content — hand picked by our technical officers. Once you received a student brief, if you choose to accept the job, please do so at your earliest convenience to avoid any disappointment. Candidate who delays in responding back may find him/ herself losing tutoring opportunities. Usually within 1-4 hours the job will be taken.
When should I be sending the intro email to my student?
Once you received “intro email” communication from us, please make first contact with your student within 12 hours. Candidate who fails to do so, the job will expire, and task will get reallocated.
Read More Tutor FAQs here:
Got A Question?
Get in touch with us today …